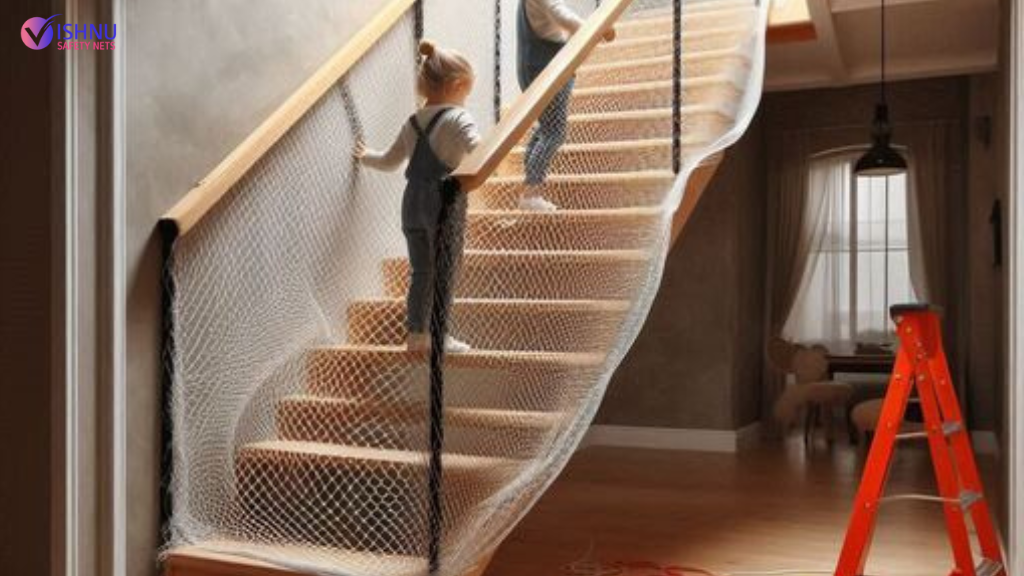
Ah, the joys of parenting! Watching your little one take their first steps is nothing short of magical. But as soon as those wobbly legs start exploring, your home can suddenly feel like an obstacle course filled with potential hazards. Staircases, in particular, can become a source of anxiety for parents. Enter the unsung hero of childproofing: the safety net. If you’re considering installing one of these lifesavers, you’re in the right place. Let’s dive into the ins and outs of installing children’s safety nets on staircases with some friendly, professional advice.
Why Safety Nets?
First, why would you want to install a safety net on your staircase? The answer is simple: peace of mind. Safety Nets In Chennai are designed to prevent falls and protect your little explorer from harm. They provide a barrier that can stop a curious toddler from slipping through the railings or taking a tumble down the stairs. Plus, they’re not just for kids; they can also be a lifesaver for pets!
Getting Started: What You’ll Need
Let’s dive into what makes Vishnu Safety Nets the go-to for child safety. Before you jump into the installation process, gather all your materials. Here’s a handy list of essentials:
– Safety net: Make sure it’s a durable, high-quality net specifically designed for child safety.
– Measuring tape: Accurate measurements are crucial.
– Mounting hardware: This could include hooks, screws, or brackets, depending on your staircase design.
– Drill: For securing the mounting hardware.
– Scissors: For trimming the net to the right size.
– Zip ties or cable ties: To ensure the net is taut and secure.
Step-by-Step Installation
- Measure Twice, Cut Once: Start by measuring the area where the net will be installed. This includes the length of the staircase and the height from the top to the bottom rail. Accuracy is key to ensure the net fits perfectly without any gaps.
- Cut the Net: Once you have your measurements, cut the net to size. It’s better to cut a little extra and trim it down if needed than to cut too short.
- Install the Mounting Hardware: Depending on your staircase, you might need to install hooks or brackets. Make sure they are securely fastened, as these will bear the weight of the net.
- Attach the Net: Start from one end of the staircase and work your way to the other, attaching the net to the mounting hardware. Use zip ties or cable ties to keep the net tight and secure. The key is to ensure there are no loose sections where a child could potentially slip through.
- Double-Check Everything: Once the net is in place, go over the entire installation. Tug on the net to ensure it’s secure, and check for any sharp edges or loose ties.
Tips and Tricks
– Choose the Right Net: Not all safety nets are created equal. Look for ones that are specifically designed for children’s safety and made from high-quality, durable materials.
– Involve the Pros: If DIY isn’t your thing or you’re unsure about the installation process, don’t hesitate to call in a professional. They can ensure the net is installed correctly and securely.
– Regular Checks: After installation, regularly check the net for wear and tear. Kids grow fast, and their antics can put a lot of strain on the netting.
Installing a Children Safety Nets In Chennai on your staircase might seem like a daunting task, but with the right tools and a bit of know-how, it can be a straightforward and rewarding project. Not only does it keep your little ones safe, but it also gives you peace of mind knowing that one less hazard is out of the way.
So, roll up your sleeves, grab that measuring tape, and get to work! Your staircase safety net will soon be the best investment in your child’s safety—and your sanity. Happy childproofing!


